Showing posts with label acrylic paint. Show all posts

Monday, 27 May 2013

Club Night 23rd May

Club night 
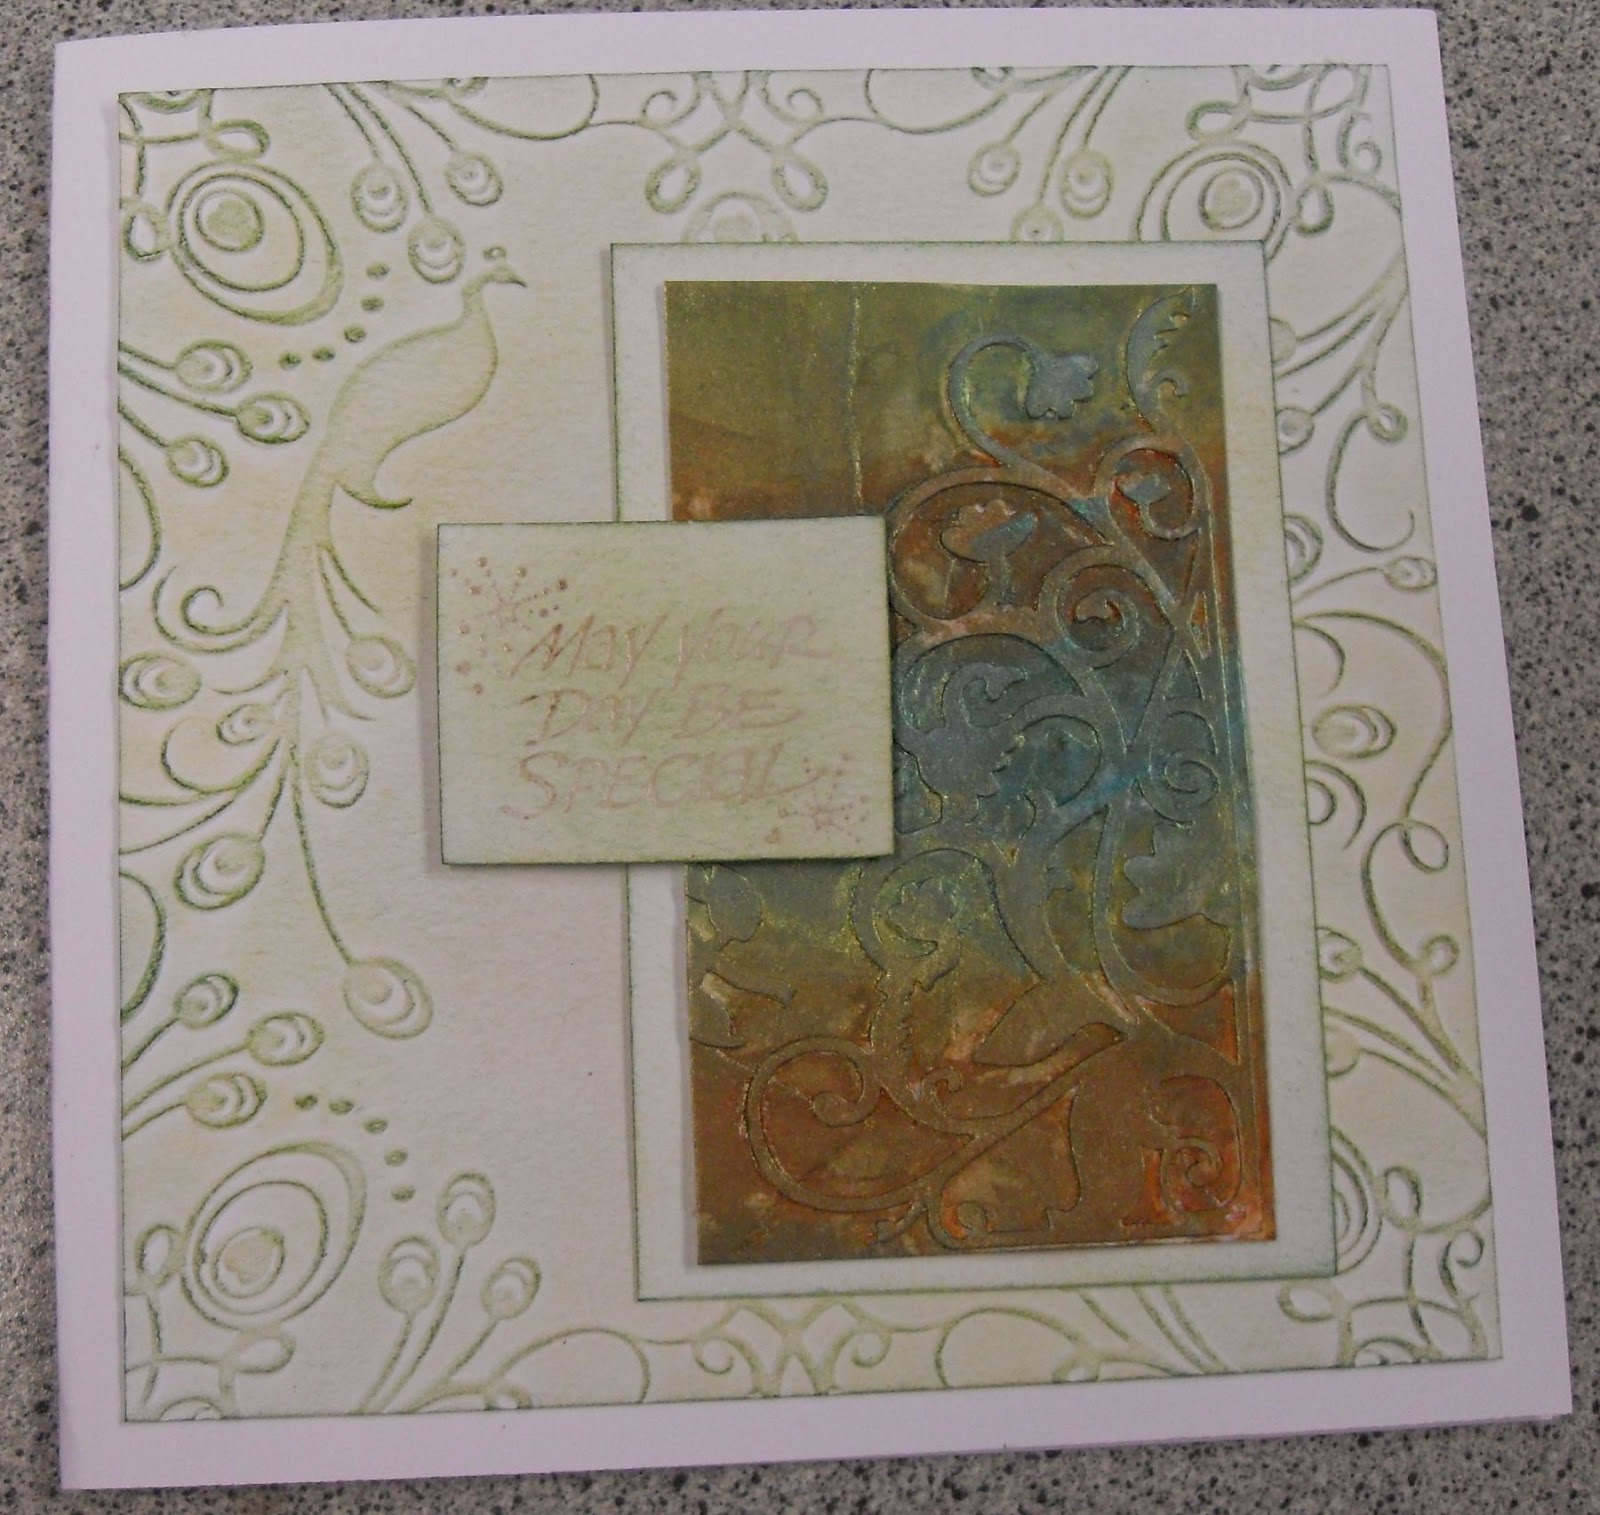
Here we have stuck small pieces of printed backing paper over a piece of card then stuck die cuts on top then painted over with metallic acrylic paints in various colours.

Here is my card


Below are cards made by the other girls
(sorry everyone but I couldn't remember who made each one)


Sunday, 28 April 2013

Club Night 25th Apr "What no Gelli Plate"

With all the fuss about the Gelli Plate I thought I would try it without it and here are some of the results, more can be found on the technique tab. It actually works very well.
I used a heat and waterproof messy mat on top of a stamping mat to give it a bit of a cushion.
Using a variety of acrylic paints here are a couple of finished samples by Barbara B.


 Here is Jan's sample although it is not on a card yet.


Friday, 30 November 2012

Club Night 22nd November-Acrylic paint resist

Here is the card that I made for this club night , I have only just finished it off so better late than never lol.
Were were playing with acrylic paints and doing a resist technique with embossing powder.
I shall be posting technique instructions on the technique page as soon as I can.

Saturday, 29 September 2012

Club Night 27th September - Acrylic paint backgroiunds

For Club Night this week I found a technique using black acrylic paint.
I sponged black acrylic paint on to various surfaces then sponged metallic paint on top of it
This one is tissue paper painted with black then lilac and pink Lunar Lights, after painting it is dried with a heat gun and scrunched up then stuck on to white card stock and brayered to make it flat.
----
On this one I have used burgundy paint for the first layer then added pink and blue Lunar Lights.
--------------
 I then moved on to painting on kitchen paper  towel in the same manner, I then inked the inside of an embossing folder with Versamark and ran the card and folder through the Cuttlebug, then added embossing powder.
          
This is a blue version using kitchen towel
--------------

I then moved on to parchment paper again sponging with the black paint then sponging on top with copper irredescent medium, then put it in an embossing folder then I sponged over it with white pearlescent paint and this is the result, I turned it over and thought that it looked good with the white parchment and black background, and wondered what it would look like if I rubbed it over using Metallic rub-ons and this is the result below which looks fabulous.

--------------------


Here is my finished card using the green kitchen towel background.

This is Carole's finished card.

Jan's card.

Sunday, 1 July 2012

Craft Club Night 29th June

This is my card from last weeks Craft club night.
we made backgrounds using acrylic paints and embossing.
First paint a piece of card with acrylic paint and dry it, then dab acrylic paint on to the top side of your embossing folder then put through machine, wash the paint off your folder straight away before it dries.
I made this one using sky blue as my base coat then dabbed  pearlescent paint on to the folder and got this lovely antiqued look. I stamped and embossed the flower coloured it with blue paint then coated it with Diamond Glaze and shook a hint of glitter on to it while still wet.

Friday, 27 April 2012

Club Night - Barbara's card

Here is Barbara's card that she made last night at Club Night.
Using the Acrylic paint background.
Thanks for bringing it in Barbara.


Club night 26th April - Acrylic Backgrounds

Last night at Club night we had a lot of fun with acrylic paints.
Take a piece of textured card such as Bazzill and paint all over with your base colour, now add a couple of other colours in places but not to cover completely, I have used sequin waste to sponge through and stamped using the paints, dipped a paint lid in the paint and made circles as you can see in the blue one.
Just play and have fun.


Tuesday, 8 November 2011

Club night - 8th November

I have been playing with acetate and acrylic paints, so thought we might do this at club night tonight.
I took 2 pieces of card and placed drops of acrylic paint on to one of them, then smooshed the 2 card pieces together and dried ti off.
Stamped on to a piece of acetate then stuck double sided sticky sheet on the the back, added small pieces of gold leaf for the poinsettia and for the tree one I gently brushed on some mica powder on to the tree and then added the gold leaf and glitter.
They are then stuck on to the acrylic painted card.
You can't see the effect in the photo but they look really good in real life.


Saturday, 18 September 2010

Craft Club Night 14th September

Here is another card using the Acrylic Smash technique as in the prevoius card.
We played around with this technique at our Craft Club and the girls did some lovely cards.

Make and Take Friday 17th September

Back to a technique this week.
This ia called Acrylic Smash. I found the technique on Split Coast Stampers.
I cut a nestabilities shape with acetate and white card, then stamped the bird using black Stazon on to the acetate. Give it a few minutes to dry then turn it over, now drag or stipple with acrylic paint- I used Adirondack Dabbers. When it is covered completely, place the white card on the top of the paint and it will stick to it as long as you have put enough paint on. Then I just layered using Bazzill card and a patterned paper and lace.